Running a 1x drivetrain on break-away travel bikes

The topic of 1x versus 2x drivetrains has been discussed in great depth throughout the Interwebs, and a quick search with the great Google will reveal this. So instead of doing yet another general 1x versus 2x discussion, I thought I’d provide a bit more insight into how it applies in the context of a break-away travel bike!
After traveling with break-away bikes extensively in the last couple of years, I have come to appreciate the nuances of different drivetrain setups and what the process of assembling and reassembling feels like, especially on the day you’re checking out and the flight is just a few hours away, and I’m frantically trying to get everything to fit in the suitcase!
What does 1x and 2x mean?
Before I begin, let me just reiterate what 1x and 2x means for the uninitiated. The numbers simply describe the amount of gears you have, and is verbalized as “1 by” and “2 by.” For example, a 2x11 drivetrain means that you have two gears in front (double chainring) and you have 11 gears in the back. A 1x11 drivetrain will then have one gear in front (single chainring) and 11 gears in the back. Easy peasy!
Break-away bike breakdown
A break-away bike has a coupling mechanism that lets you split the frame of the bike into two halves. Ritchey Break-away bikes are the best known production bikes to have this feature, and S&S couplers make the other well known system which you’ll find on some custom made bikes. When a break-away bike is disassembled, it also means that all cables that run along the length of the frame will also need to be split.

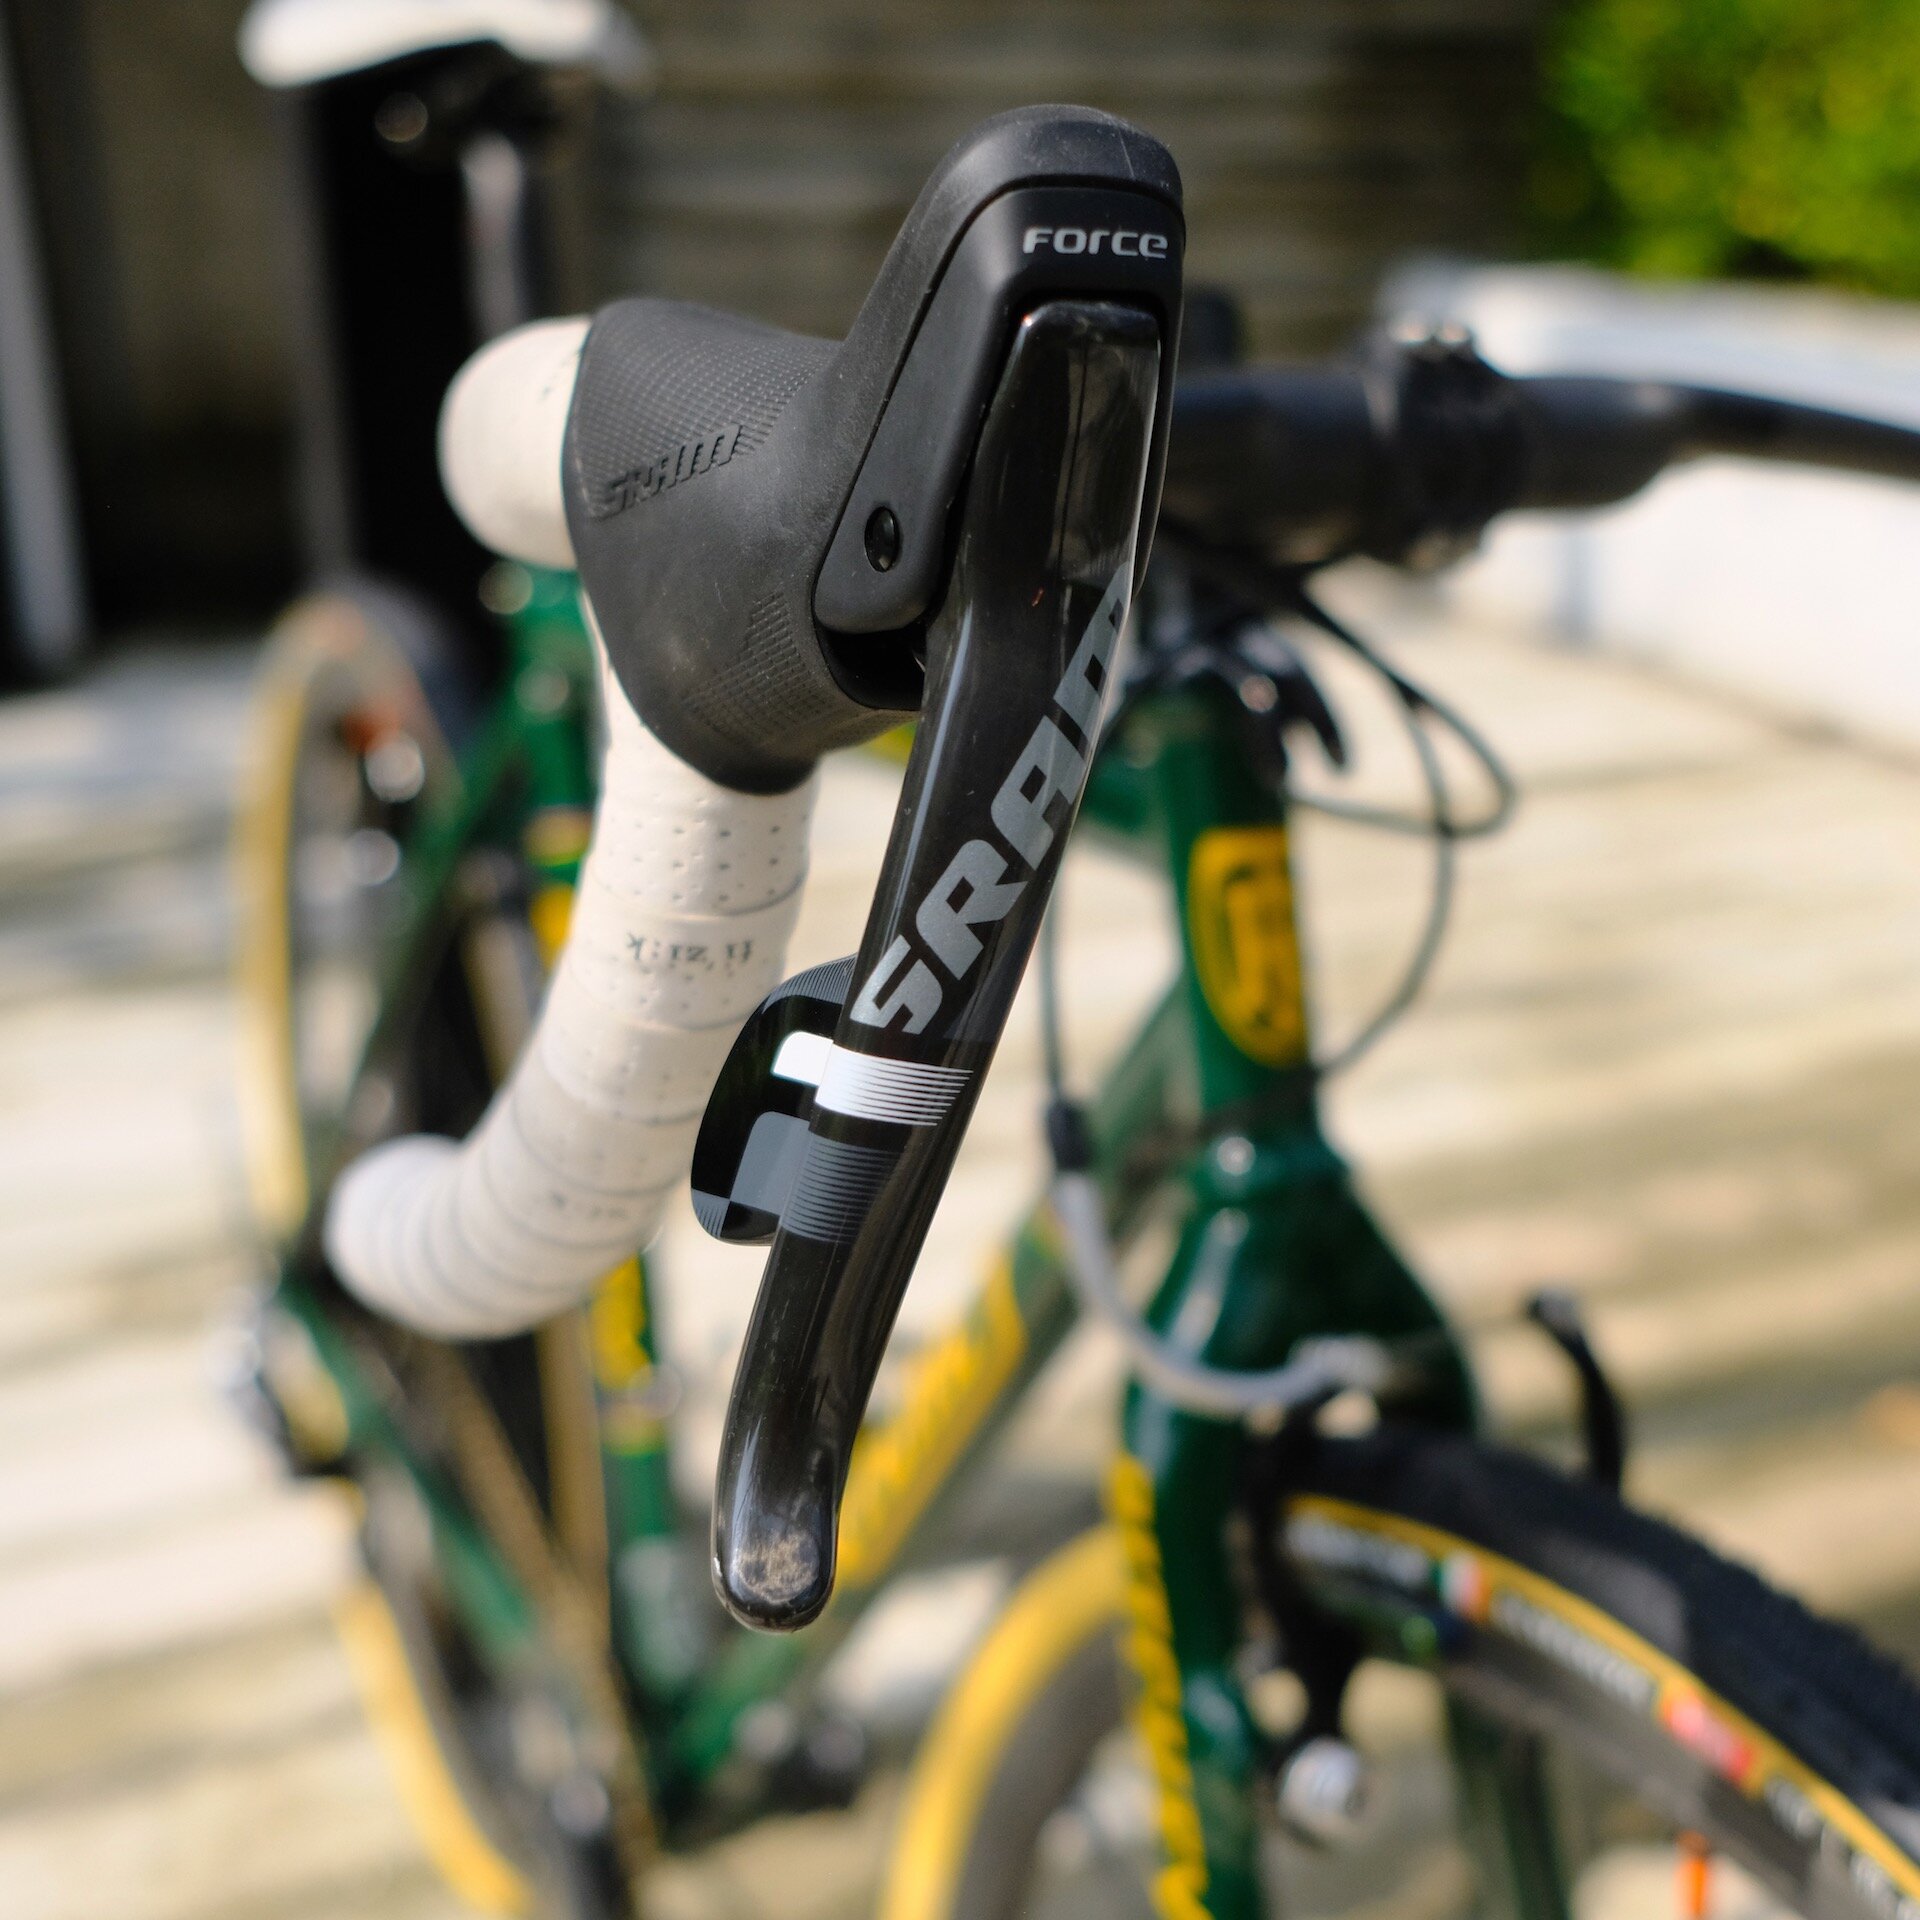
A Ritchey Steel Cross Break-Away with a mechanical 1x drivetrain.
Mechanical 2x drivetrain. When disassembling break-away bikes with a 2x drivetrain, there will typically be three cables that run along the length of the frame:
Front derailleur shift cable
Rear derailleur shift cable
Rear brake cable
These three cables will need to be split or reconnected whenever the bike goes through the packing or assembly phase. After each successful reassembly, you will also need to ensure that the shift cables are adjusted properly, and I find that I have to do a tiny bit of indexing.
Electronic 2x drivetrain. With an electronic drivetrain, the process is much easier especially if it is a wireless setup like the SRAM eTap drivetrain. There are no shift cables to worry about, which leaves only the rear brake cable. This translates to a lot of time that gets saved during the packing and assembly process. Plus, there are no indexing issues to worry about since there are no shift cables that can stretch.
Mechanical 1x drivetrain. When it comes to mechanical simplicity, a mechanical 1x drivetrain setup cannot be beaten. On a break-away bike, this means you only have the following two cables that run along the length of the frame:
Rear derailleur shift cable
Rear brake cable
Indexing and adjusting the rear derailleur on its own is infinitely easier than trying to make adjustments to the combination of front and rear derailleurs. If you can’t justify the expense of an electronic drivetrain or simply don’t want to go electronic for a travel setup, the mechanical 1x drivetrain is your next best bet in terms of simplicity for travel.
Mechanical cable actuated or hydraulic brakes?
For a break-away bike, I prefer mechanical simplicity and will always opt for a cable actuated brake instead of hydraulics. The Ritchey Cross Break-Away has cantilever posts that accept cantilever brakes or mini v-brakes. For my build, I am running the Paul Components MiniMoto mini v-brakes which have really great modulation and power that is quite comparable to a disc brake setup.
If you have a break-away bike that uses disc brakes, there are a lot of good mechanical disc brake options out there such as the TRP Spyre. If you want something even better, there are also hybrid cable operated brakes with hydraulic pistons such as the Juin Tech F1 and the newer GT-F model.
A cable actuated braking system allows you to use cable splitters which make the assembly and disassembly process extremely easy. There is currently no easy solution to do this with hydraulic hoses, and bleeding hydraulic hoses is never fun when you’re traveling.
My experience with a mechanical 1x drivetrain
Since I have two Ritchey Break-away bikes, I decided to convert my trusty Ritchey Steel Cross Break-away setup into a 1x drivetrain. This gives me the opportunity to have two drivetrain setups to compare, and they both function as very different bikes.
My Ritchey Titanium Road Break-away gets the SRAM eTap 2x drivetrain, and is pretty much my light and fast bike that does the occasional race duties. The Ritchey Steel Cross Break-away then becomes the Swiss Army “do everything else” bike that is capable of doing both on-tarmac and light off-tarmac excursions.
In a nutshell, I prefer using the 1x drivetrain when I’m not racing or don’t need to be part of a fast group ride where the smaller gear steps of a 2x drivetrain are preferred. When I’m exploring, traveling, and just enjoying a ride, the 1x drivetrain is all I ever need.
What about drivetrain friction?
There is something to be said about drivetrain friction between 1x and 2x in regards to the actual chain line itself. 2x drivetrains tend to be more efficient if you use the correct chainring-to-cassette range based on the optimal chain line. For 1x drivetrains, the efficiency will be biased towards a specific range of the cassette that the chain line of the single chainring is more optimized for.
The Shimano GRX 1x crankset has a wider chain line at 51.1mm which sits further outboard, and therefore the chain will run more efficiently towards the smaller cogs.
The Easton 1x crankset has a narrower chain line at 47mm which sits further inboard, and therefore the chain will run more efficiently around the middle cogs.
The Praxis 1x crankset has a chain line that is even narrower at 45.5mm, favoring the larger cogs.
Unless you were constantly hammering 300 watts at a cadence of 90 rpms and every watt counts to get you over the finish line in a race, you won’t be too concerned with drivetrain friction. When you are pedaling at an easy to moderate pace, you’ll usually be in the middle cogs where things are generally efficient. And more often than not, you’ll be using the larger cogs more often compared to the smaller ones.
Advantages of going 1x
Better low gears. Most 1x drivetrains are biased to lower gearing, which means you get slightly better climbing gears. In the context of exploring and touring, this is preferred since I will typically be carrying some gear on me in my bikepacking bags which naturally adds weight. Having lower gears always helps in this scenario. My 1x setup also gives me a 1:1 ratio for my lowest gear which is awesome!
To draw comparison, I present the following table of gear ratios between my previous 2x setup and the more recent 1x setup.

Still fast enough. With the right gear ratios, I can still have a reasonably high top gear that lets me sustain higher speeds on tarmac. Obviously I will never get the top end gearing of a 2x drivetrain, but I never really need that unless I’m racing. And for most of us mere mortals, we never spend that much time in that top gear anyway.
Single derailleur simplicity. When I’m traveling, touring and exploring, the last thing I want is to spend more time fixing and adjusting mechanical things. A 1x drivetrain completely removes the front derailleur out of the equation, which is the source of mechanical woes 90% of the time (chain rub, misaligned front derailleur cage, stuck on a single chainring, chain falls off while shifting, etc.)
Lighter weight. Depending on your component selection, you can actually reduce the overall weight of your bike! For my setup, going from a 2x mechanical setup to a 1x mechanical setup saved me almost 300 grams. That’s a lot of grams, especially if you’re a weight weenie.
My mechanical 1x drivetrain setup
The components that were swapped were the shifters, rear derailleur (along with the removal of the front derailleur and cables), cassette, and switching to a direct mount single chainring.
Frame size: S (50cm)
Handlebar: 3T Aeronova LTD Stealth (40cm)
Stem: 3T Arx II (90mm)
Seatpost: Ritchey Superlogic 1-bolt (27.2mm)
Saddle: S-Works Power
Brakes: Paul Minimoto mini v-brakes with Gevenalle Ti brake pads
Crankset: Praxis Works Zayante Carbon with 42T direct mount chainring
Shifters: SRAM Force CX1
Derailleur: SRAM Rival 1 Large
Cassette: SRAM XG-1180 10-42
Wheels: Campagnolo Shamal Mille
Tires: Challenge Strada Bianca (30mm) or Challenge Almanzo Pro (33mm)
Pedals: Look X-Track Race Carbon
The total weight of this build including pedals: 8.19kg (18lbs).
With this 1x setup, I managed to drop 277 grams from my previous build. After a bit of time spent with the Rival 1 derailleur, it would have been better in hindsight to choose the Force 1 derailleur as it is built with tighter tolerances, which means less indexing adjustments are needed over time – and a hair lighter!
Also, in order to run the SRAM XG-1180 cassette on the Campagnolo Shamal Mille wheel, I had to get an XD driver for it. You can use either Fulcrum or Campagnolo freehubs as long as they are the matching models. For reference, I got the Fulcrum XDr Freehub Body (R0-123).
For more great ideas on getting a 1x dropbar bike put together, check out this article from bikepacking.com.


Overall Verdict
Nadiah and Maya both have 2x mechanical drivetrains, and I’ve logged plenty of time assisting them with the packing and assembly process to appreciate the amount of time it takes to get bikes in and out of the suitcase for travel. This gives me the opportunity to draw comparisons since I am dealing with both 2x and 1x configurations at the same time.
Pros. Perfect for exploring and touring! No front derailleur issues to fix or adjust, better spread of lower gears, simpler shifting strategy, and lighter weight. Also when it comes to packing and assembling the bike in and out of the suitcase, there is quite a lot of time that is saved between the cables and the adjustments that had to be made on a mechanical 2x setup. When it comes to touring and travel, having a simpler mechanical setup is preferred. If you’re not cycling for performance or joining road races and just looking at touring and exploring, the 1x drivetrain is your best bet!
Cons. It takes a bit more effort to keep pace with a fast group and gearing changes result in bigger steps, but that’s what my other fast bike is for. However, the biggest thing that I miss is the ability to switch between the big and small chainring in a 2x setup and dump gears in an instant. Again, that doesn’t happen that often, but just one of those things I noticed. And depending on what crankset you use, you will encounter drivetrain efficiency issues based on the chain line where efficiency either favors the smaller or larger cogs – you can never have an efficient drivetrain for the entire gear range.
Firm believer of the N+1 bike axiom. Always in search of the next awesome route.


